Self-Leveling Underlayments & Overlayments
Pumpable cementitious systems that turn worn, out-of-flat slabs into smooth, level surfaces — ready for coatings, floor coverings, or a polished finish.
Request a Free EstimateWhat is self-leveling concrete?
Self-leveling cement is a high-flow cementitious material that is mixed, pumped, and placed over a prepared slab, where it seeks its own level and cures into a smooth, flat surface. As an underlayment, it creates the level substrate that tile, LVT, wood, and resinous systems demand. As an overlayment, it becomes the finished wear surface itself — coated, covered, or polished. For industrial-scale work, see our dedicated Concrete Underlayments and Concrete Overlayments pages.
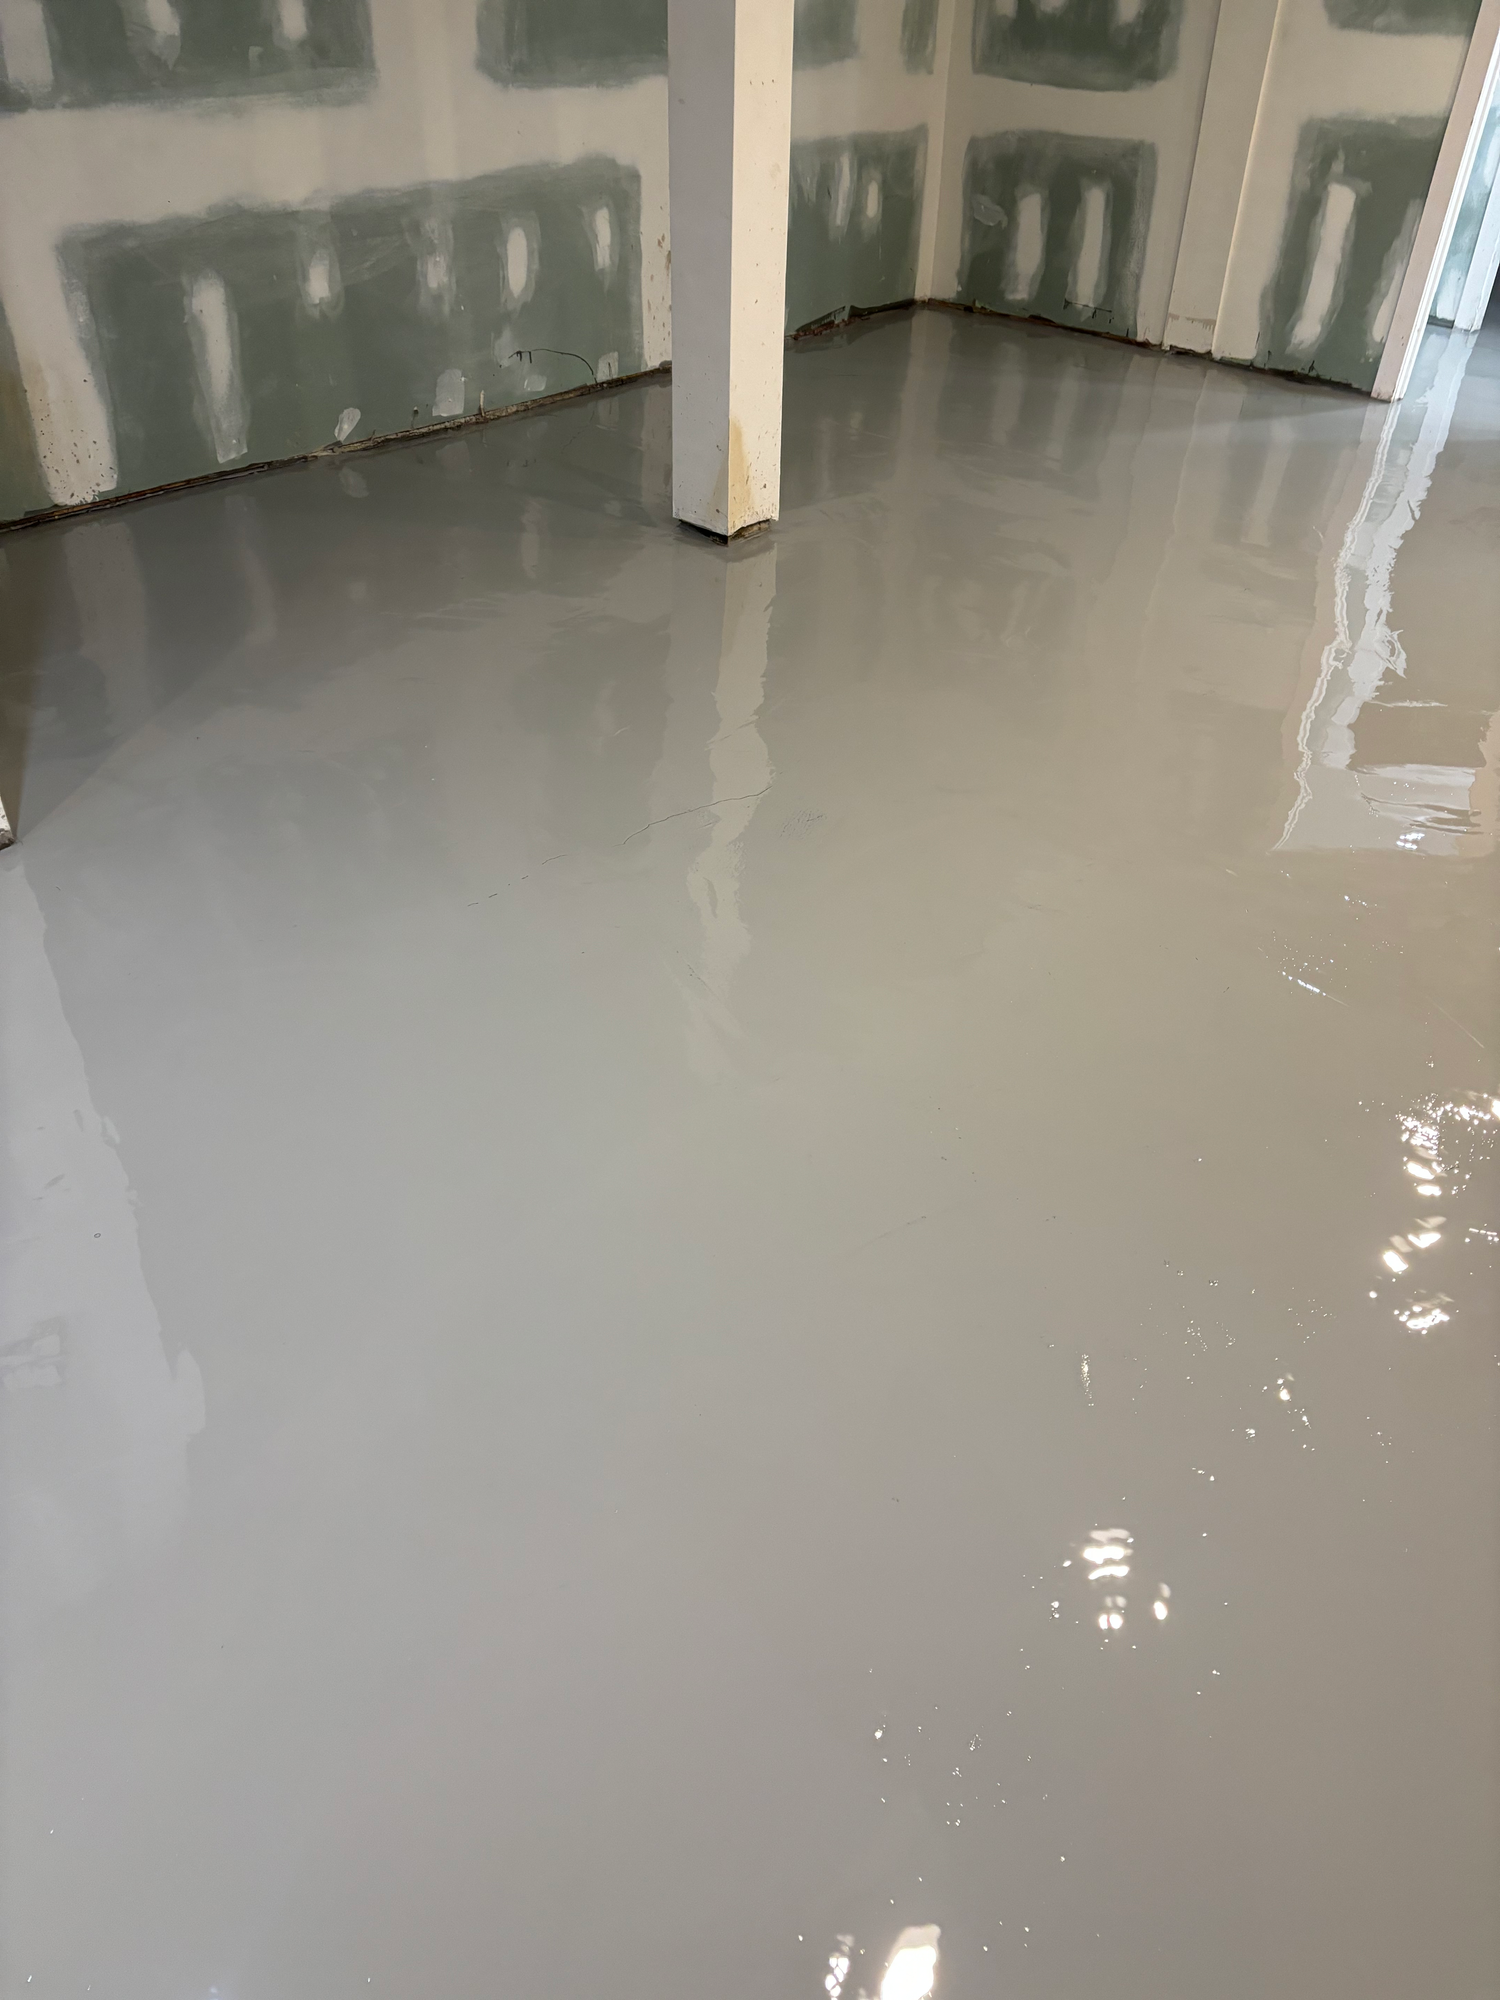
Flat floors, without demolition.
- Flat and level to specification
- Featheredge to 2"+ builds in a single pour
- Pumped placement covers large areas fast
- Permanent bond over mechanical preparation
- Ready for coatings, coverings, or polishing
- New surface on the same slab — no tear-out
Where leveling pays off.
Survey. Prime. Pour.
Flatness survey & moisture testing
Grinding & priming for bond
Continuous mixing, one placement
Gauge-raked & smoothed level
Coated, covered, or polished
Start with a flat floor.
Tell us what goes on top — we’ll spec the right underlayment or overlayment build.
Cementitious Self-Leveling · Commercial & Industrial Division
The self-leveling contractor GCs call when the slab is out of spec
From 5,000 sq ft retail build-outs to 200,000 sq ft distribution centers, Resin Pros pumps and places cementitious self-leveling underlayments that bring worn, wavy, or out-of-tolerance slabs back to flatness spec — fast, and without tear-out. Based in Newtown Square, PA, we mobilize crews across Pennsylvania, New Jersey, Delaware, Maryland, and New York.
When to spec self-leveling
- Slabs failing FF/FL flatness tolerance
- High-rise & multifamily renovations over existing decks
- Worn warehouse floors ahead of racking or robotics
- Transitions and ramps between slab pours
- Substrate prep before LVT, tile, epoxy, or polished finishes
What we place
- Cementitious self-leveling underlayments, featheredge to 2"+ in one pour
- Deep-fill and pumpable placement for large areas
- Moisture mitigation epoxy systems under the leveler
- Primers and bond coats over mechanically prepared concrete
- Polishable overlayments as the finished wear surface
Who we serve
- Warehousing & distribution
- Food & beverage plants
- Healthcare & pharmaceutical
- Multifamily & high-rise residential
- Retail, office & institutional build-outs
How thick can you pour?
Featheredge up to 2 inches and beyond in a single lift, with deep-fill options for badly deteriorated slabs — we spec the build after a laser flatness survey and moisture test.
How fast can trades walk it?
Most cementitious self-levelers accept foot traffic in 2-4 hours and floor coverings in as little as 24, which is why leveling rarely moves a construction schedule.
Does it work under any finish?
Yes — LVT, tile, hardwood, carpet, epoxy and urethane coatings, or polished as the finished floor itself. Tell us what goes on top and we spec the right system beneath it.
Have a flatness spec or a bad slab?
Send us the square footage and what's going on top — we'll quote the leveling build, anywhere in PA, NJ, DE, MD, or NY.