
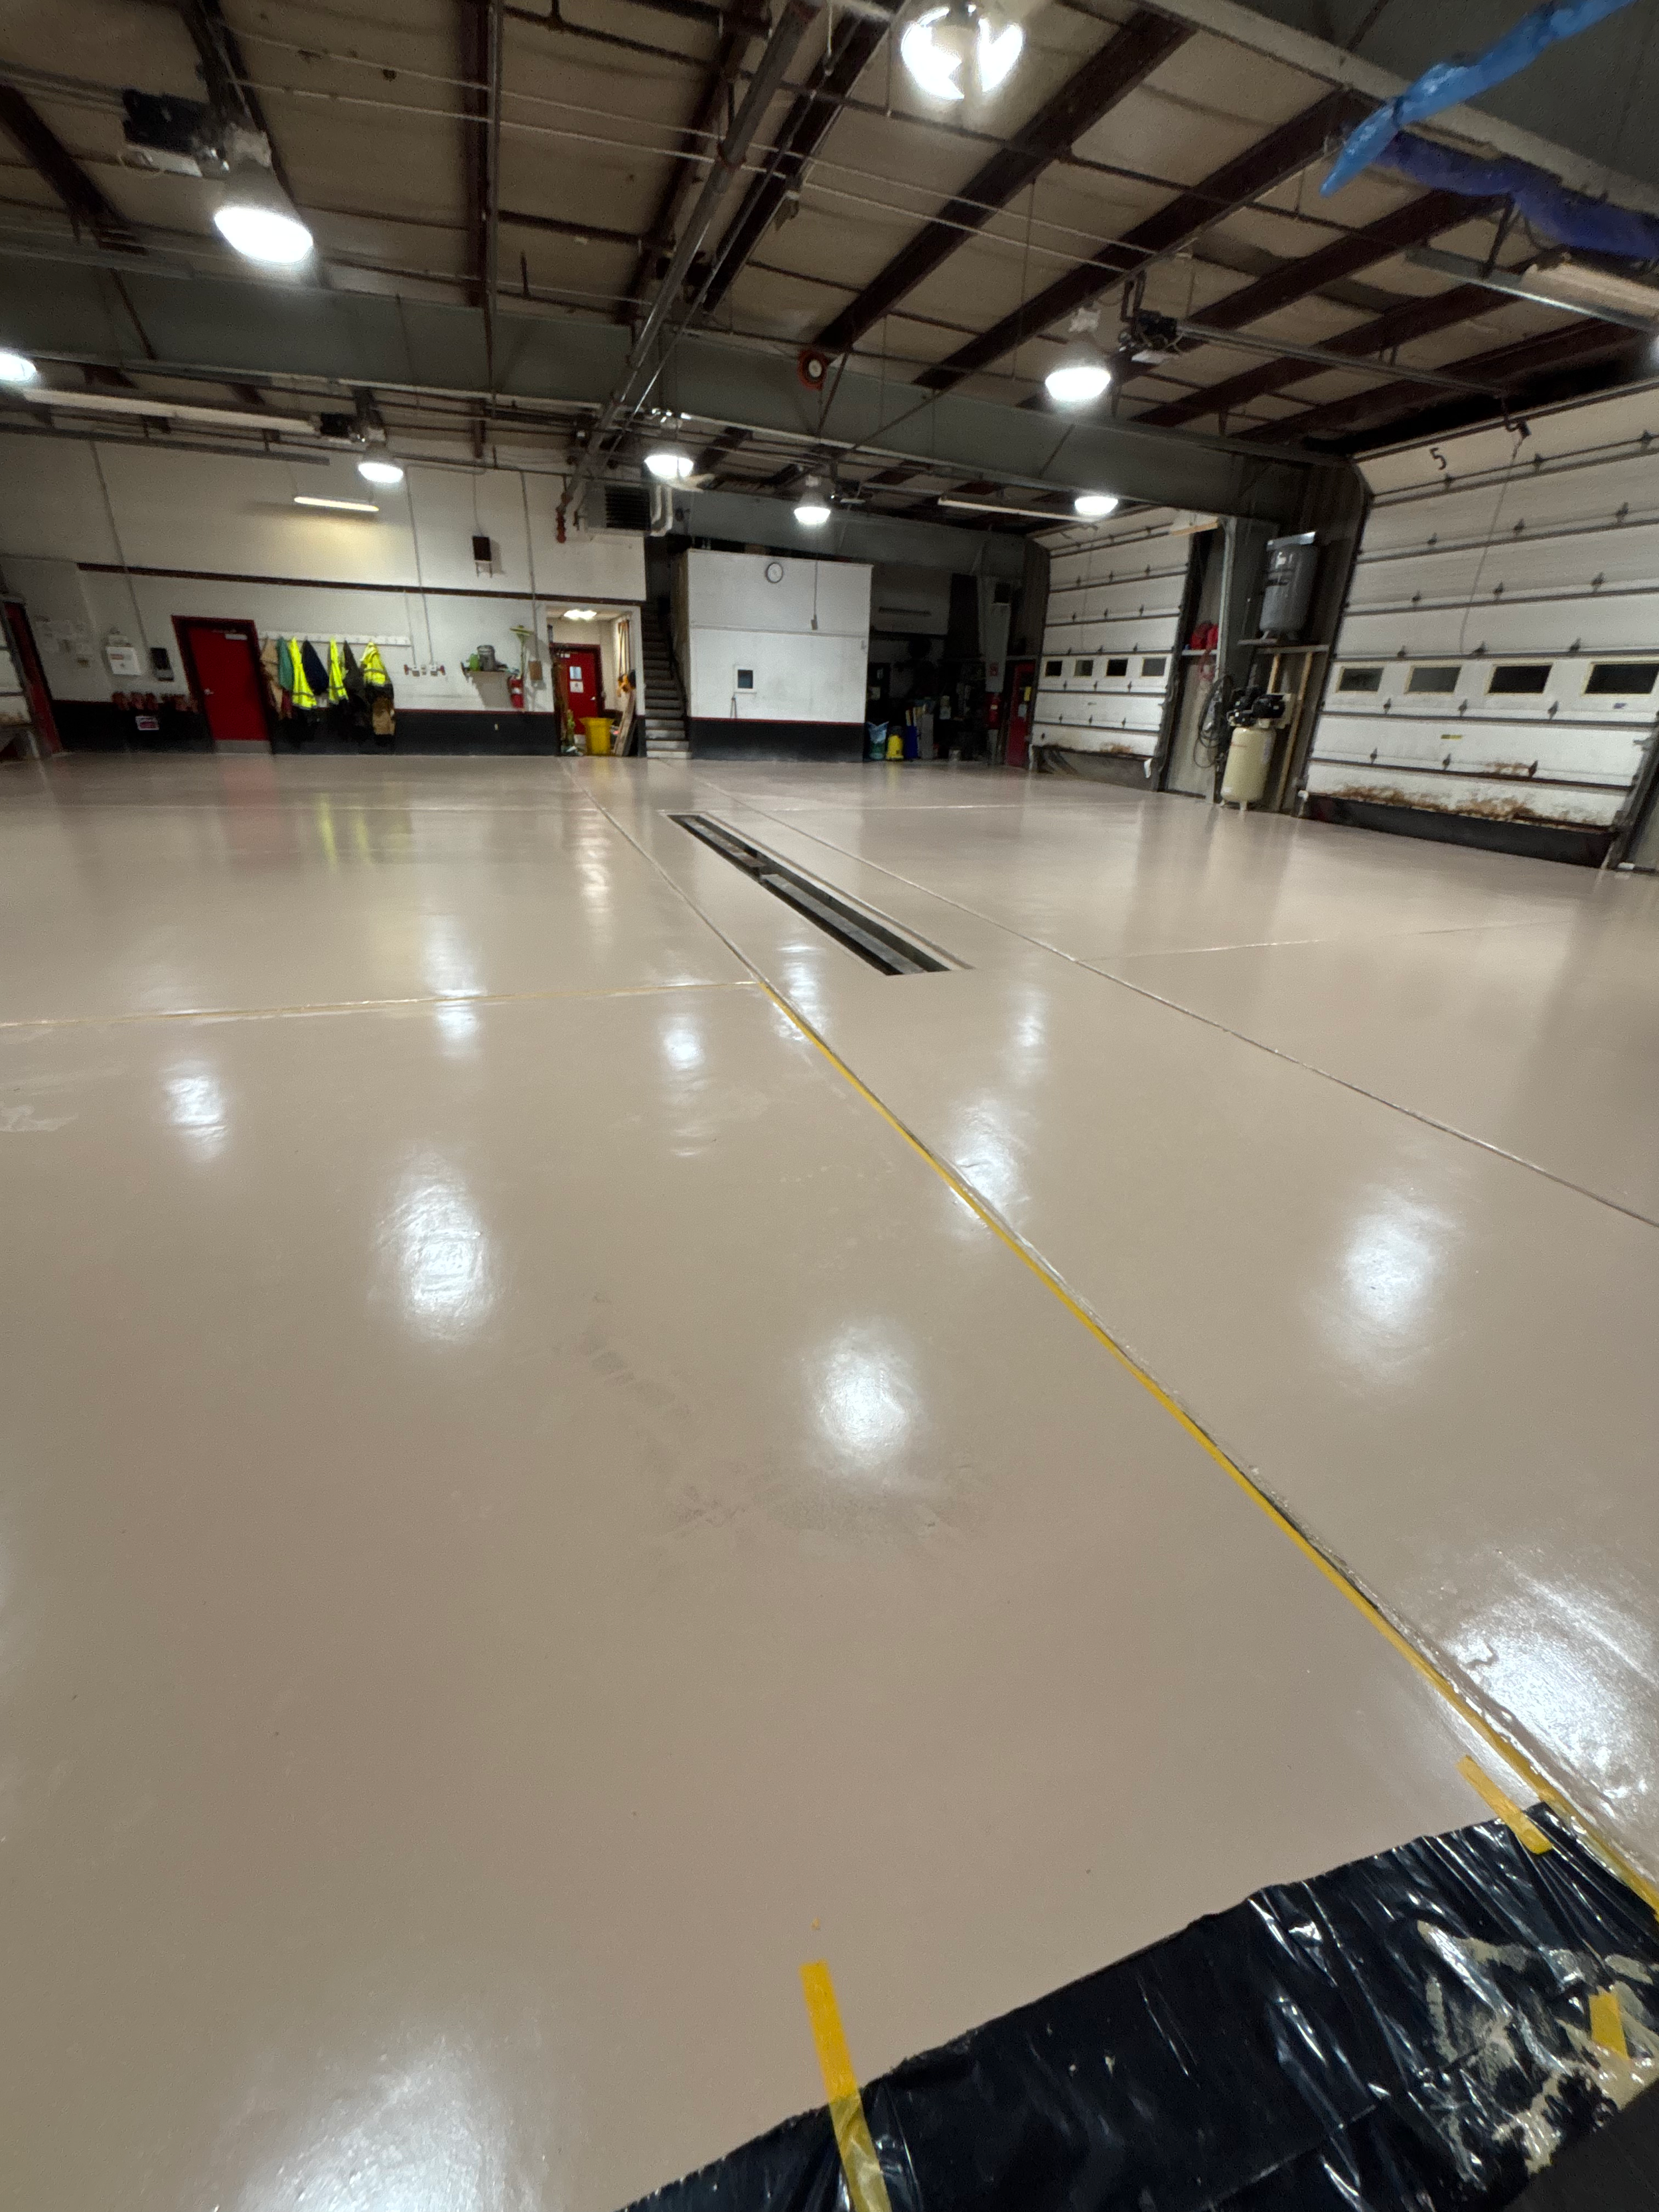
Smooth. Seamless. Effortlessly Level.
Self-leveling cement transforms uneven, worn concrete into a flat, seamless surface — the perfect base for garages, basements, showrooms, and commercial spaces.
What is a Self-Leveling Cement System?
Self-leveling cement is a flowable, polymer-modified underlayment that spreads out under its own weight to form a flat, uniform surface. Poured over properly prepared concrete, it fills dips, ridges, and low spots that standard patching simply can’t correct.
Unlike thin skim coats, a self-leveling pour builds real thickness in a single application — curing into a dense, high-strength surface that takes foot traffic in hours and is ready to be coated, polished, or covered.

Why choose a Self-Leveling Cement System?
Flat and Level: Corrects dips, ridges, and worn spots to bring the whole floor back to a uniform plane.
Fast Turnaround: Rapid-setting formulas take foot traffic in hours, keeping downtime short.
Seamless Surface: One continuous pour — no joints, seams, or patchwork.
Strong Foundation: High compressive strength creates the right base for epoxy, tile, LVP, or polished finishes.
Covers Damage: Encapsulates cracks, spalling, and old repairs beneath a fresh, uniform wear surface.
Versatile: At home in basements, garages, kitchens, and showrooms — anywhere the slab needs a reset.
Best Applications
Self-leveling cement works well anywhere a flat, sound floor is the goal:
Residential
Garages
Basements
Laundry Rooms
Utility Rooms
Home Workshops
Mudrooms
Commercial
Retail Stores
Showrooms
Offices
Studios
Restaurants
Lobbies
Specialty
Salons & Barber Shops
Fitness Studios
Veterinary Clinics
Daycares & Preschools
Art & Photography Studios
Churches & Community Centers
Our Process (How We Install Self-Leveling Systems)
Step 1: Surface Preparation
We mechanically grind the concrete using an industrial grinder and high-quality metal-bonded diamonds to remove surface contaminants and open the pores. This creates the right surface profile for a strong mechanical bond. Edges and tight areas are detailed with hand grinders to ensure complete, uniform prep across the entire slab.
Step 2: Priming & Moisture Control
We apply a bonding primer matched to the slab’s condition. Where moisture readings call for it, a moisture vapor barrier goes down first to protect the new floor from vapor drive.
Priming seals the surface, prevents pinholes, and ensures the self-leveler bonds tightly to the concrete beneath.
Step 3: Mix & Pour
The self-leveling cement is precision-mixed and poured across the prepared slab, then spread with a gauge rake to the specified thickness. The material flows out under its own weight, filling low spots and leveling the surface.
Step 4: Optional Second Base Coat
In certain cases, we apply a second pigmented base coat to improve color richness, increase build, and further smooth the surface. This added layer helps ensure consistent coverage and enhances overall durability on more porous or uneven slabs.
Step 5: Protective Topcoat (Gloss to Matte)
Optional Polyaspartic or Urethane Topcoat
For added protection, UV stability, and chemical resistance, we offer a high-performance topcoat in your choice of gloss, satin, or matte finishes. This final layer increases scratch resistance and makes cleaning even easier. It’s highly recommended for commercial spaces, garages, or areas exposed to sunlight or harsh cleaning agents.
Let’s bring your floor to life.
Upgrade your space with a solid color epoxy system built to perform and designed to impress. Get a fast, no-obligation quote today.
Clean. Seamless. Professional-grade protection.