Stone-Like Beauty, Seamless Epoxy Strength.
Transform your countertops into eye-catching, durable centerpieces—crafted to match your unique style.
What is a Epoxy Countertop System?
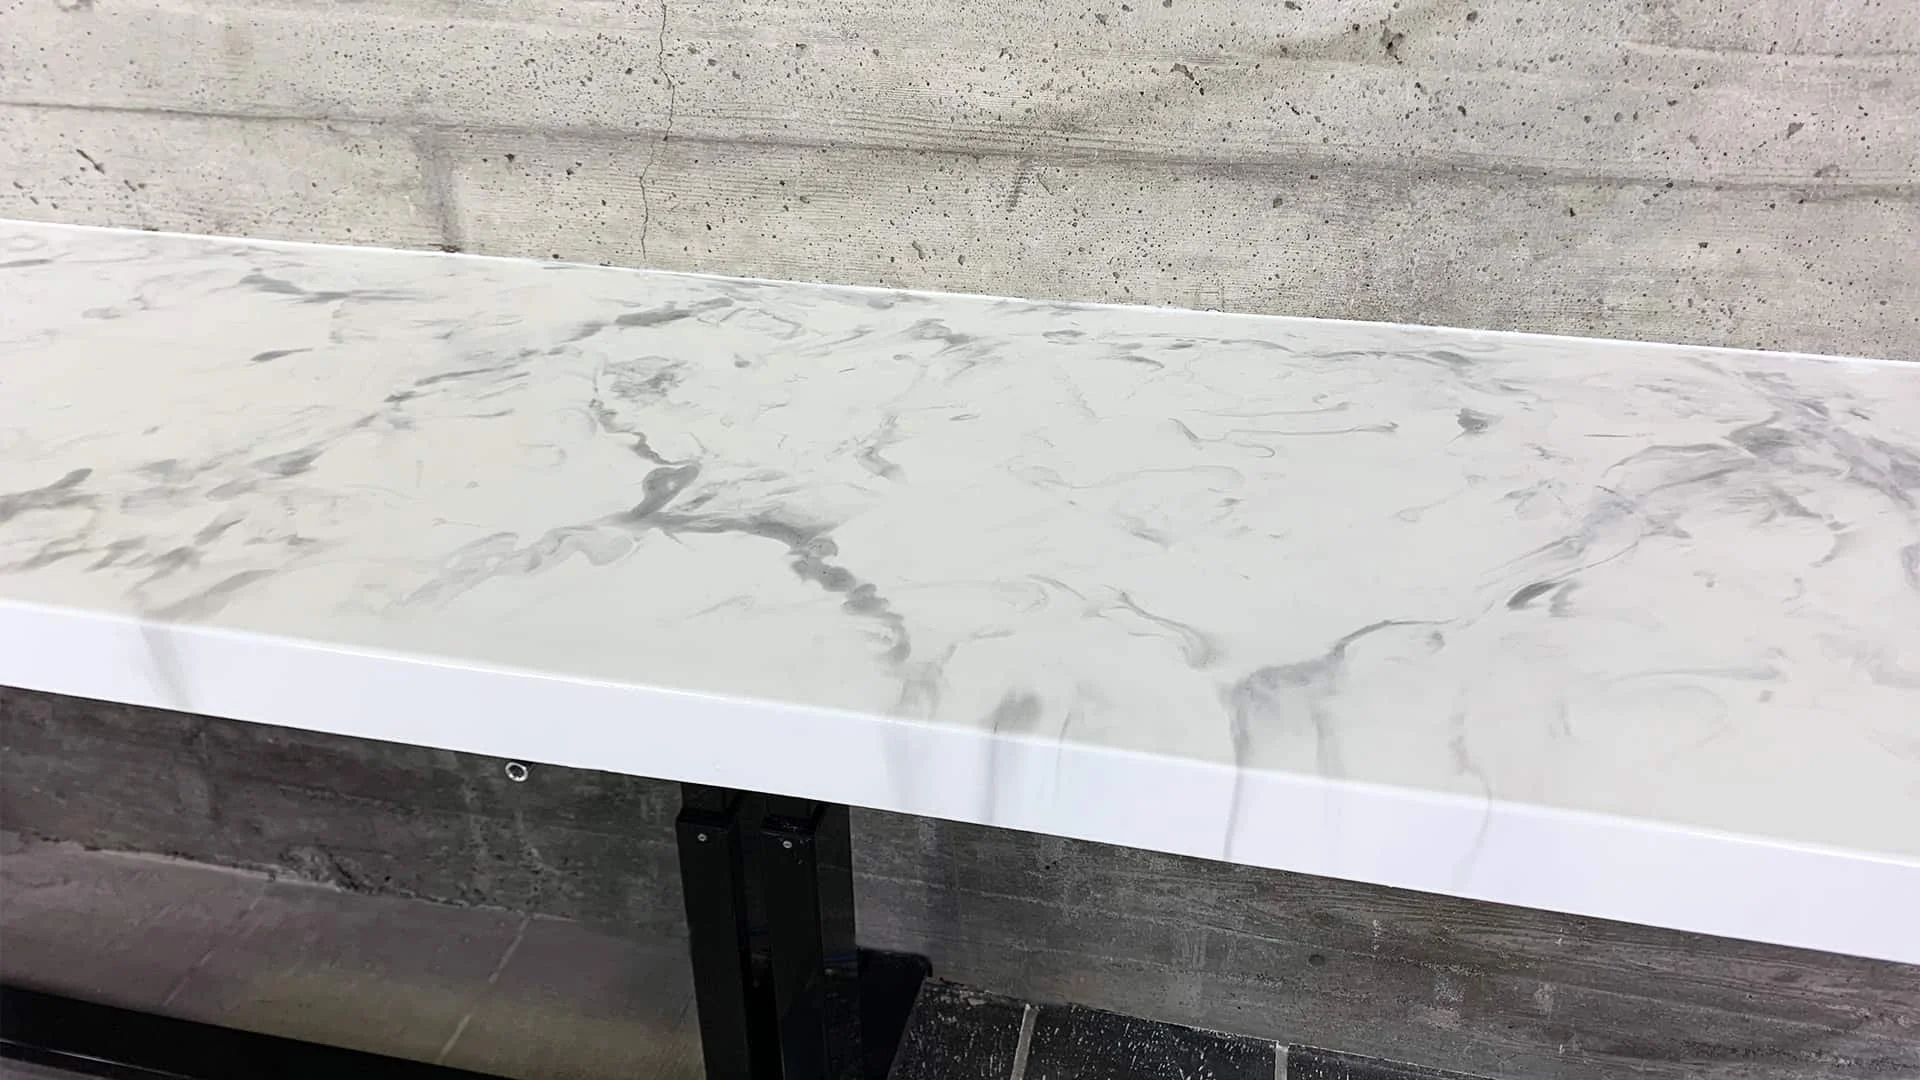
Epoxy countertop systems transform ordinary surfaces into stunning, high-gloss showpieces with unmatched depth and visual impact. Whether you're upgrading a kitchen, bathroom, bar top, or reception desk, these systems mimic the look of natural stone, marble, or abstract art—at a fraction of the cost. With a seamless, non-porous finish, epoxy countertops are both beautiful and highly functional.

Why chose a Epoxy Countertop System
Completely Customizable: Every surface is hand-designed with colors, veining, and effects tailored to your vision.
High-Gloss, Seamless Finish: No seams or grout lines—just smooth, mirror-like surfaces.
Heat and Impact Resistant: Built for real-life use, with reinforced topcoats for added durability.
Stain Resistant & Food Safe: Non-porous, easy to clean, and resistant to most household spills.
Cost-Effective Luxury: Achieve the look of marble or granite without the price tag or weight.
Best Applications
Perfect Surfaces for Everyday Spaces.
Residential
Kitchen Countertops
Bathroom Vanities
Laundry Room Counters
Bar Tops
Dining Tables
Fireplace Mantels
Commercial
Reception Desks
Retail Counters
Office Desktops
Conference Tables
Salon Stations
Restaurant Bars
Our Process (How We Install Metallic Systems)
Step 1: Surface Prep and Bonding Primer
We begin by thoroughly sanding and cleaning the existing surface—this could be laminate, wood, MDF, or stone. The goal is to create mechanical tooth for proper adhesion. Once prepped, we apply a specialty bonding primer to ensure the epoxy fully grips the surface and eliminates risk of delamination over time.
Step 2: Structural Reinforcement (if needed)
For surfaces that are weak, uneven, or prone to flexing, we reinforce the substrate using additional plywood, fillers, or leveling compounds. This creates a stable foundation that prevents cracking, sagging, or design distortion in the final pour—especially important for older or DIY-built surfaces.
Step 3: Custom Epoxy Design Pour
This is where your design comes to life. We mix pigmented epoxy with metallics, tints, and veining agents to create your chosen look—whether it’s natural stone, marble, or a modern abstract. The epoxy is poured and artistically manipulated by hand to form a one-of-a-kind finish across the surface and edges.
Step 4: Flood Coat for Depth and Clarity
After the design layer sets, we apply a self-leveling clear flood coat. This layer deepens the visual effects and creates a flawless, glass-like high-gloss finish. It also locks in the design, adds thickness, and protects the artwork underneath.
Step 5: Final Protective Topcoat & Edge Finishing
We finish the system with a UV-stable polyurethane or polyaspartic topcoat for enhanced scratch, heat, and chemical resistance. This coat also protects against yellowing and wear. Edges are polished and detailed to ensure a clean, professional look all around.

Let’s Build Your Dream Surface
Take your countertops to the next level with a surface that's built to last and designed to wow. Tap below to get your personalized quote today.
Let’s bring your vision to life — one layer at a time.